Table of Contents
Categories
-
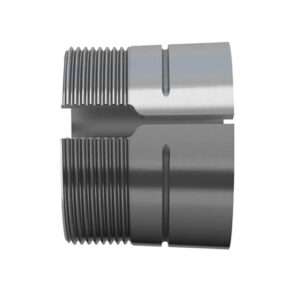
Adapter Sleeves (9)
-
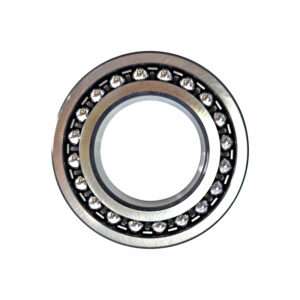
Ball Bearings (11)
-
Ball Screw Bearings (2)
-
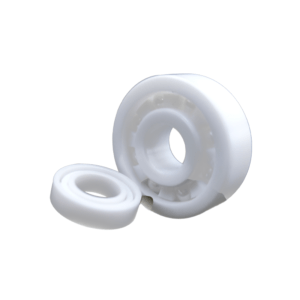
Ceramic Bearings (28)
-
Pillow Block Bearings (4)
-
Plain Bearings (32)
-
Roller Bearings (12)
-
Slewing Bearings (43)
-
Sliding Block (3)
-
Stainless Steel Bearings (27)
-
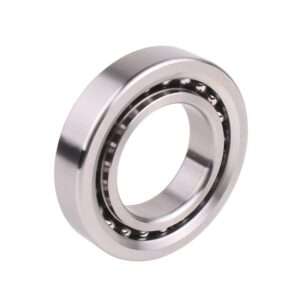
Super Precision Bearings (6)
-
Thin Section Bearings (9)
-
Track Rollers (4)
-
Universal Joints (1)
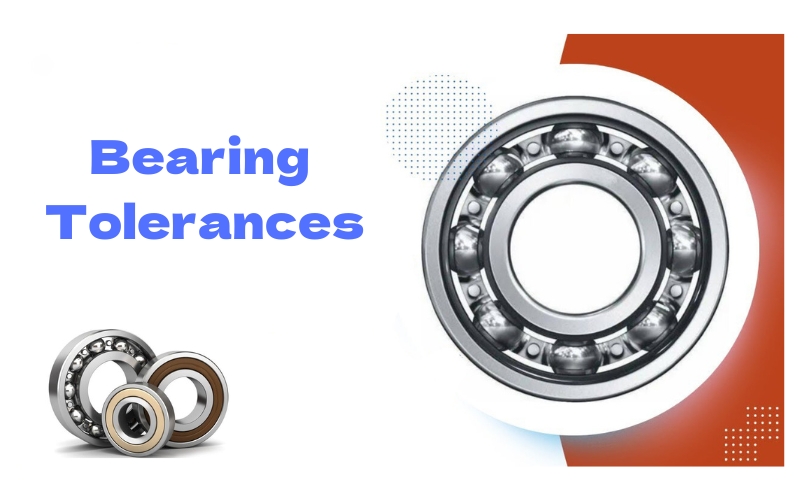
Mastering Bearing Tolerances: Boost Your Product Quality And Precision
Introduction
A key aspect of ensuring accuracy is knowing bearing tolerances. Bearings are key components of most precision mechanical devices, and their dimensional tolerances directly determine the movement accuracy and reliability level of the entire system.
Mastering the knowledge of bearing tolerances and applying it correctly in the product design and manufacturing process is a key part of improving the overall quality and precision of the product. In this article, we dive into the importance of bearing tolerances and explore how mastering them can take product quality and precision to new heights.
Understanding Bearing Tolerances
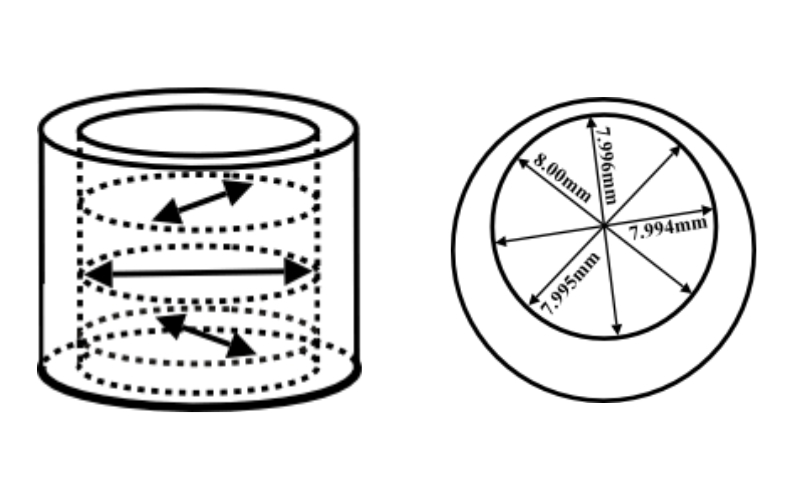
Bearing tolerances refer to the allowable deviation range of the dimensions of bearing parts. It stipulates the maximum and minimum limit values of the dimensions of each component of the bearing to ensure the precision assembly and normal operation of the bearing. Bearing tolerances include:
- Radial tolerance of inner and outer rings: Specifies the gap range between the inner and outer rings. If it is too large, it will cause vibration and noise, and if it is too small, it will increase friction and heat.
- Rolling element diameter tolerance
Specify the diameter tolerance range of rolling elements such as balls and rollers.
- Radial runout and axial runout tolerances of inner and outer rings: specify the maximum offset of the inner and outer rings relative to the ideal geometric centerline.
- Cage tolerance: the allowable deviation range of cage size and position.
- Contact angle tolerance (for some special bearings): Specifies the allowable deviation range of the contact angle between the rolling element and the inner and outer ring raceways.
Common Bearing Tolerances Standards
Bearing tolerance standards are the benchmark for determining bearing size and shape when manufacturing and designing bearings. Mainly including ISO and ANSI, ISO and ANSI are two major international standards organizations, which have developed many standards on bearing tolerances.
ISO Bearing Tolerance Standards:
The International Organization for Standardization (ISO) tolerance standards are the most widely adopted bearing tolerance standards in the world today. The ISO 492 standard specifies 11 different tolerance levels, from the most common level P0 to the most precise UP Plus level. It clearly defines the tolerance value range of key dimensions such as the diameter and width of the inner and outer rings. ISO standards are highly versatile and comprehensive, and are applicable to most general and precision bearing products.
ISO (International Organization for Standardization) The most common of which are ISO 492 and ISO 199.
Among them, ISO 492 defines the dimensions and tolerances of rolling bearings, including diameter and width tolerances of the inner ring, outer ring and rolling elements.
This standard applies to various types of rolling bearings, such as ball bearings, tapered roller bearings and cylindrical roller bearings.
ISO 492 provides a choice of different accuracy levels by specifying bearing tolerance classes (such as P0, P6, P5, etc.).
ISO 199 defines the dimensions and tolerances of sliding bearings, including tolerances on the inner diameter, outer diameter and length.
This standard applies to various types of sliding bearings, such as sliding bearings and sliding rollers.
ISO 199 also defines bearing tolerance levels, such as N, P, Q, etc., to provide choices of different accuracy levels.
ANSI Bearing Tolerance Standards:
The ABEC standard of the American National Standards Institute (ANSI) is mainly used in the North American market. Its tolerance levels range from level 1 to level 9 (of which level 9 is the most precise), which is basically consistent with the technical content of the ISO standard, and the tolerance value range is also close, but the presentation form is slightly different.
Generally applicable to various types of rolling bearings, such as ball bearings, tapered roller bearings and cylindrical roller bearings.
In addition to ISO and ANSI, countries and regions such as German DIN, Japanese JIS, Chinese GB, and French NF have also formulated their bearing tolerance standard systems.
Bearing Tolerance Accuracy
Bearing tolerances involve a very wide range of accuracy, including not only dimensional accuracy, machining accuracy, and operating accuracy but also surface roughness, roundness, concentricity, and other aspects:
Machining accuracy
The machining accuracy of bearing parts is the basis for achieving high-precision dimensional tolerances. Including the geometric accuracy, surface roughness accuracy, etc. of rough machining and finishing of inner and outer rings.
Running accuracy
Refers to the accuracy performance of the bearing during actual operation. It is mainly reflected in the circular runout, end face runout, and axial runout of the inner and outer rings.
roundness error
The greater the roundness error, the easier it is for the bearing to generate vibration and impact loads during operation, thereby reducing the service life.
concentricity error
Reflects the concentricity deviation between the inner and outer rings of the bearing. The worse the concentricity is, the radial force will interfere with the rotation of the inner and outer rings.
End runout
Refers to the distance deviation between the end face of the inner and outer rings of the bearing and the reference plane. Excessive end-face runout will cause radial vibration and affect the bearing movement accuracy.
How To Measure The Tolerance Of Ball Bearings
How to measure the tolerance of ball bearings, let’s take deep groove balls bearings as an example:
1: Measure the radial clearance tolerance of the inner ring
Assume that the radial clearance tolerance of the inner ring of a deep groove ball bearing is 0~10 microns.
Use the inner caliper to measure the inner diameter of the inner ring and record the size value.
Install the inner ring into the measuring stand, and use a dial indicator to measure the maximum radial displacement of the inner ring relative to the measuring stand, which is the radial clearance value.
Compare the measured radial clearance value with the tolerance range of 0~10 microns to determine whether it is qualified.
2: Measure the rolling element diameter tolerance
Assume that the rolling element diameter tolerance of a deep groove ball bearing is +/-2 microns.
Use a precision micrometer to measure the diameter of multiple rolling elements.
Calculate the difference between the measured value and the theoretical diameter value.
Compare the difference with the tolerance range +/-2 microns to determine whether it is within the allowable range.
3: Measure the radial runout tolerance of the outer ring
Assume that the radial runout tolerance of the outer ring of a deep groove ball bearing is 5 microns.
Install the outer ring into the runout measuring device.
Measure the runout at multiple points on a circle.
The difference between the maximum value and the minimum value is the radial runout value.
Compare the measured radial runout value with the tolerance of 5 microns to determine whether it is qualified.
How To Use The Bearing Tolerance Tool
Tools for measuring bearing tolerances generally include:
- Inner and outer calipers: used to measure the inner and outer diameters of bearings
- Micrometer: used to measure the radial clearance and radial runout of bearings
- Measuring stand: Install the bearing on the measuring stand and use a dial indicator
- Runout meter: Measures the radial runout and axial runout tolerance of the inner and outer rings of the bearing relative to the theoretical centerline.
- Special measuring device: For some special bearings such as angular contact ball bearings, special measuring devices are used to measure the contact angle tolerance.
Common Bearing Tolerance Issues
Common bearing tolerance problems include size deviation, shape deviation, insufficient or excessive clearance, etc.
To avoid bearing tolerance problems, the key is to select bearings that meet standards, ensure the stability of production processes and quality control, use high-precision measuring equipment for quality inspections, select appropriate tolerance levels and bearing types based on actual application needs, and conduct regular bearing inspections. Assembly and operation testing, timely detection and adjustment of any insufficient or excessive clearance problems, regular inspection of bearing surface quality and timely replacement of damaged bearings, selection of bearing suppliers with a good reputation, and ensuring that bearing materials comply with relevant standards and requirements.
Key Factors Affecting Bearing Tolerances
The determination of bearing tolerances is affected by many factors, including application requirements, bearing type, materials and manufacturing processes, measuring and inspection equipment, environmental conditions, and quality control and management.
Different applications have different requirements for bearing accuracy. High-speed rotating equipment requires higher bearing accuracy;
Different types of bearings have different tolerance standards and accuracy levels;
High-quality materials and advanced manufacturing processes can ensure the stability and accuracy of bearings; the use of high-precision measuring equipment can accurately evaluate bearing size and shape;
In addition, working environmental conditions have an impact on bearing dimensional stability and tolerance control levels;
At the same time, good quality control and management systems can ensure that bearings meet standard requirements.
Conclusion
In summary, bearing tolerance determines the deviation range of the size and shape of the bearing, which directly affects the accuracy of the product. Excessive tolerances will cause the assembly gap to be too large or too small, affecting the assembly accuracy and working stability of the product.
At the same time, excessive tolerances can also lead to increased friction or imbalance in the bearings, affecting the rotational stability and operating efficiency of the product. Appropriate control of tolerances can reduce friction, improve the rotational stability of the product, and reduce energy consumption. Excessive tolerances will accelerate wear and fatigue and reduce the service life of the product.
Therefore, when designing and selecting bearings, you must fully consider the actual application requirements of the product and select appropriate tolerance standards and accuracy levels to ensure product quality and performance.
References
- 1. Detailed analysis of “bearing tolerances” from KOYO;
- 2. About factors affecting “bearing tolerances” from GMN;
- 3. Information about “bearing tolerances“, seat tolerances, and resultant fits from SKF Bearings.

